Grinding a B&S #6 Taper Carbide-Tipped Dead Center
- Torin Walker

- Nov 1, 2020
- 3 min read
I searched high and low online for this rather outdated taper. Basically, it's halfway between a Morse Taper #1 and #2, with a slightly different body angle. Whereas Morse Taper is standard everywhere, cheap, and readily available both new and used, B&S tapers are scarce on the used market and only offered available through "custom" tooling shops, with prices starting in the low range around $70 USD/ea running up to as much as $270/ea. Plus shipping, plus import (broker fees), plus taxes.
I decided to make my own - simple enough.
Since it's Saturday (seems it's always Saturday when I have an idea and need material), I started with what I had on hand. Some 3/4" A2, and some scrap bits of broken 3/8" carbide endmills.


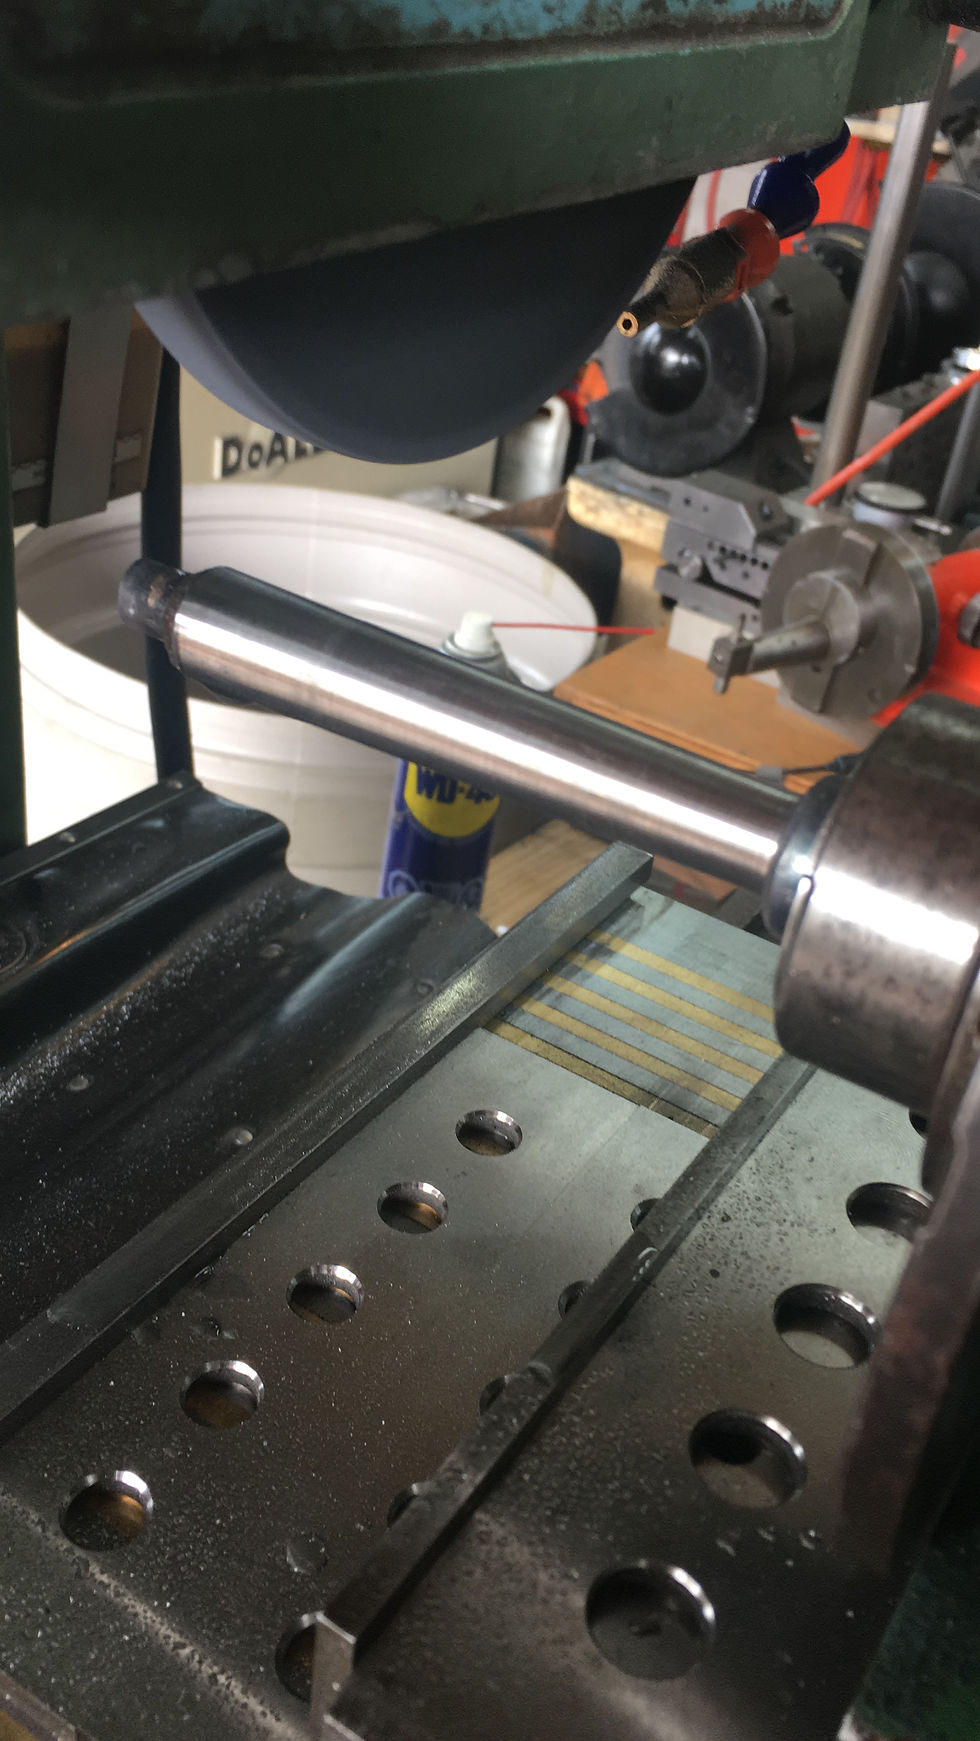
Next, I measured the one good/rough dead center that came with the machine and used it to line up the toolpost on the lathe. I probably don't need it to be dead-nuts because I am going to grind it later, but I set it up dead-nuts anyway

After setting the taper, I cut the 60-degree tip and bore for the 3/8" carbide. This will also serve to hold it with the live center.


With the blank roughed out, I can cut it off in the saw in preparation for brazing and heat-treat. This will also give me a shank suitable for holding in the vise and later in the spindex.

I only read afterward that brazing requires a mere .002 fit. Mine was quite a bit looser than this. I dropped in a little piece of brazing flux, and set the carbide on top.


After being fluxed and primed with a bit of braze, the amount being a bit of guesswork, I hit it with the torch which accomplishes two things. a) it brazes the carbide in place, and b) it heats the metal past the heat-treat temperature and hardenes the steel. Watching the carbide get sucked down into the pocket as it hits the right temperature is very satisfying.


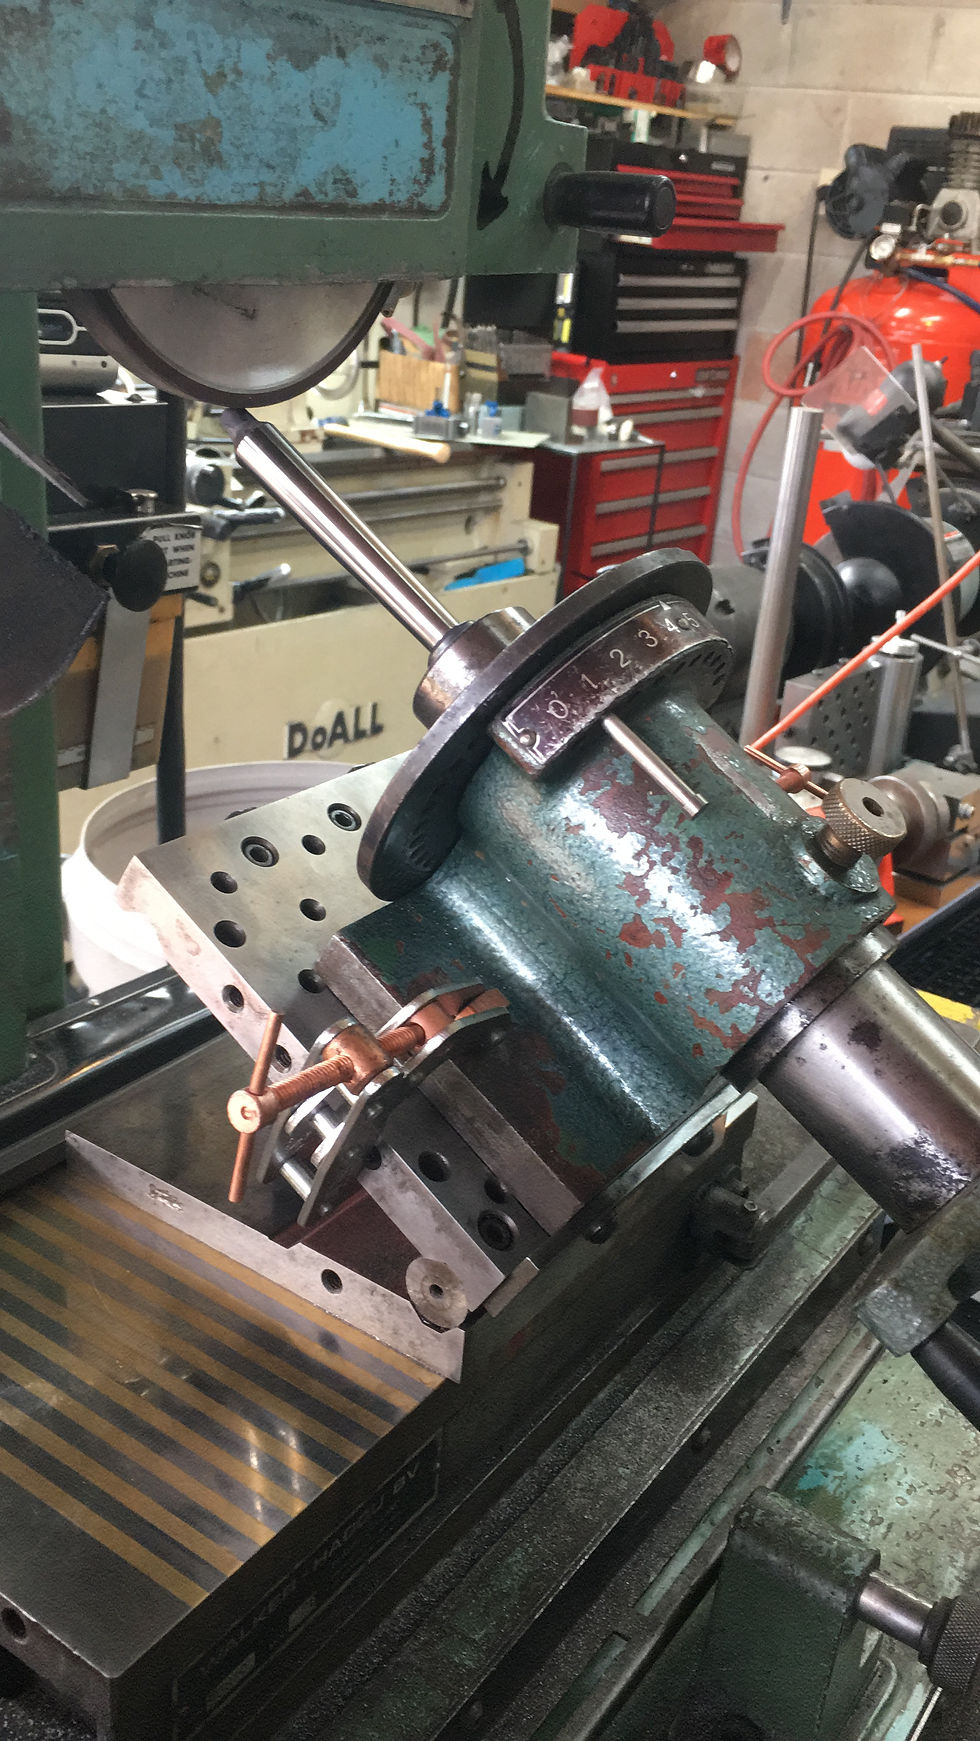
After brazing and hardening, I set up the 30-degree and 1.201 degree angles using a sine plate and gauge blocks. First, the body taper...

Then the tip. I don't suppose it matters much in which order.

Finally, but not shown here, I lopped off the end held in the spindex using a .032 cut-off wheel. I tried creating a shoulder but the wheel didn't cut square and flexed as I moved it around, mangling the end. Need to improve my cut-off technique.

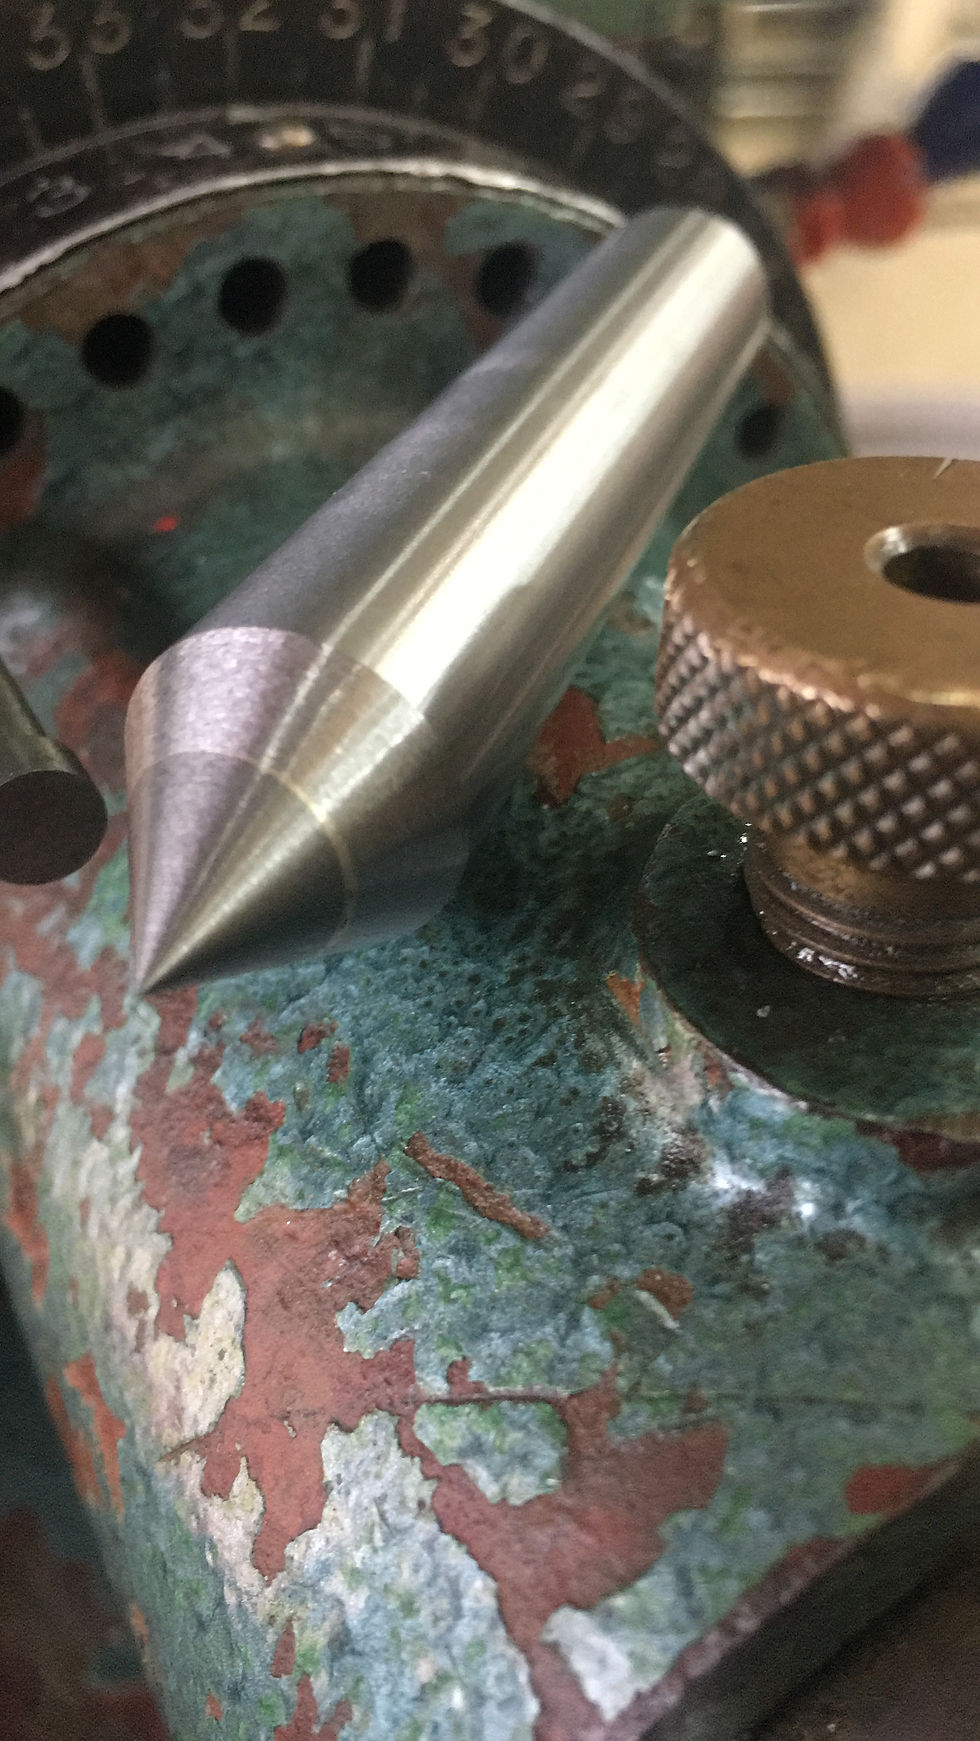
What I wanted is on the LEFT. What I ended up with is on the RIGHT.


Though I am showing only one being made here, I actually made two. The first one turned out ok but was too short and barely prodtruded past the workholding attachments usually mounted.
On a second attempt, I made it longer but I held the torch too much on one side leading to significant warping (about .05 runout) that I had to grind away to correct. In the end, I ended up with two short dead centers, one a tiny bit longer than the other. Both are perfectly useable, but I will try again and make a third, next time rotating the part during the brazing/heat-treat process to reduce warpage.
Not sure if you can see it in this picture, but the angle of the braze on the top dead-center shows it closer to one side than the other. Slightly better cut-off procedure though.

All in all, a very fun project that cost only $10 CAD (about $7.50 USD) in A2 and even salvaged some scrap carbide I had lying around, saving at least $130 USD (plus shipping, broker fees, and taxes) in the process.
Torin...


Comments