Engraving Attempt #2
- Torin Walker

- Jul 11, 2018
- 3 min read
After shopping for spring-loaded engravers and finding that the good ones are hundreds of dollars (and still aren't thin enough to get down beside the crown), I started thinking about making my own. After humming and hawing over what material I wanted to sacrifice, I thought... why not just try a straight piece of carbide?
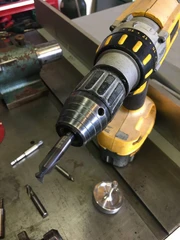
So I rummaged around the end-mill tray again and found a couple of options

Far left: An ordinary fine but unbroken endmill (so don't want to scrap it)
Mid-left: A nice little HTC carbide dovetail that I broke by banging another toolholder against it :-<
Mid-right: A once perfectly fine carbide chamfer/spot drill at $25 a pop. Can remember how I wrecked that one.
Far right: Spotting drill. ... Meh.

The HTC was the cheapest (ebay score) and while broken but still somewhat useable, the carbide spotter still had lots of side-milling life in it, and I liked that the HTC's tip already had nearly the point I wanted.
The carbide bits were also good in that with my kwik-switch small collet holder, I still had nearly 3/4" of shank to hold onto after clearing the Spinny-Doo's crown.

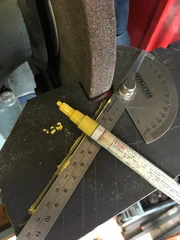
Next was to rough away the dovetail to a 60-degree angle so it will clear the inside of the rim when scribing the plateau. You'll just have to trust me on that one. Don't you love paint markers for tempoarary markup? When they work, that is.
So after five minutes, a lot of dust and grit in the eyes (even with safety glasses), and an 1/8 of the wheel gone, the dovetail went from the one on the left, to the one on the right.
Now we're cookin':

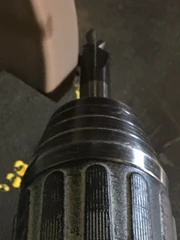
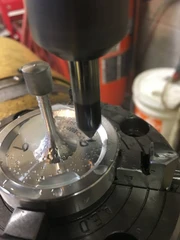
With the tip at roughly 60 deg (to clear the 50 degree angle in the plateau - that little angled ledge on the left of the engraver above), I needed to refine the tip and make it concentric with the spindle. For this, I use my exceptionally expensive and highly under-utilized Japanese Nikken 5AX-120 rotary/tilt table.
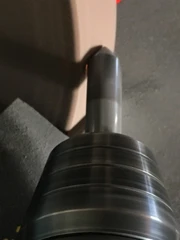
I mounted a POS diamond sharpening plate in the four-jaw, the ran back and forth in X until the runout was elimnated. Then I dialed the table back to 45 degrees (for a 90 included angle) and honed the tip.

and voila! Not pretty, but perfectly concentric and 90 degrees.

Next, I ran two jobs. The first with the spindle running at 4000 rpm, and the second with the spindle at 0 rpm.
The first pass worked reasonably well. The results were greatly improved over the previous cutter's hack-and-slash job, but I'm not fond of running my old spindle constantly at its highest rpm.
Not too bad. Not even close to production quality, but quite an imrpovement over the first attempt. Here's the new result:

And a closeup

It's still mushing the aluminum around and leaves a built-up edge over the characters that feels rough to the fingers and comes off when scratched. I want perfection, and this is not it.
The second attempt ran the same job with the spindle off. The results were... different... but not better. This time, the lines were slightly finer but the aluminum was still mushed around resulting in failure.

I could blame some of this on the toolpath, my machine and any backlash I haven't corrected for, or the speed, feed, and rigidity of the setup, but all the evidence isn't in yet. More experiments are needed.
Until next time, keep spinning.
Torin...






Comments